
What A Wall!
Developed by Maggie Masse, PCM Play Intensive 2021
(FOCUS: 3rd Grade, STEM, Engineering Design Process, Design Thinking)
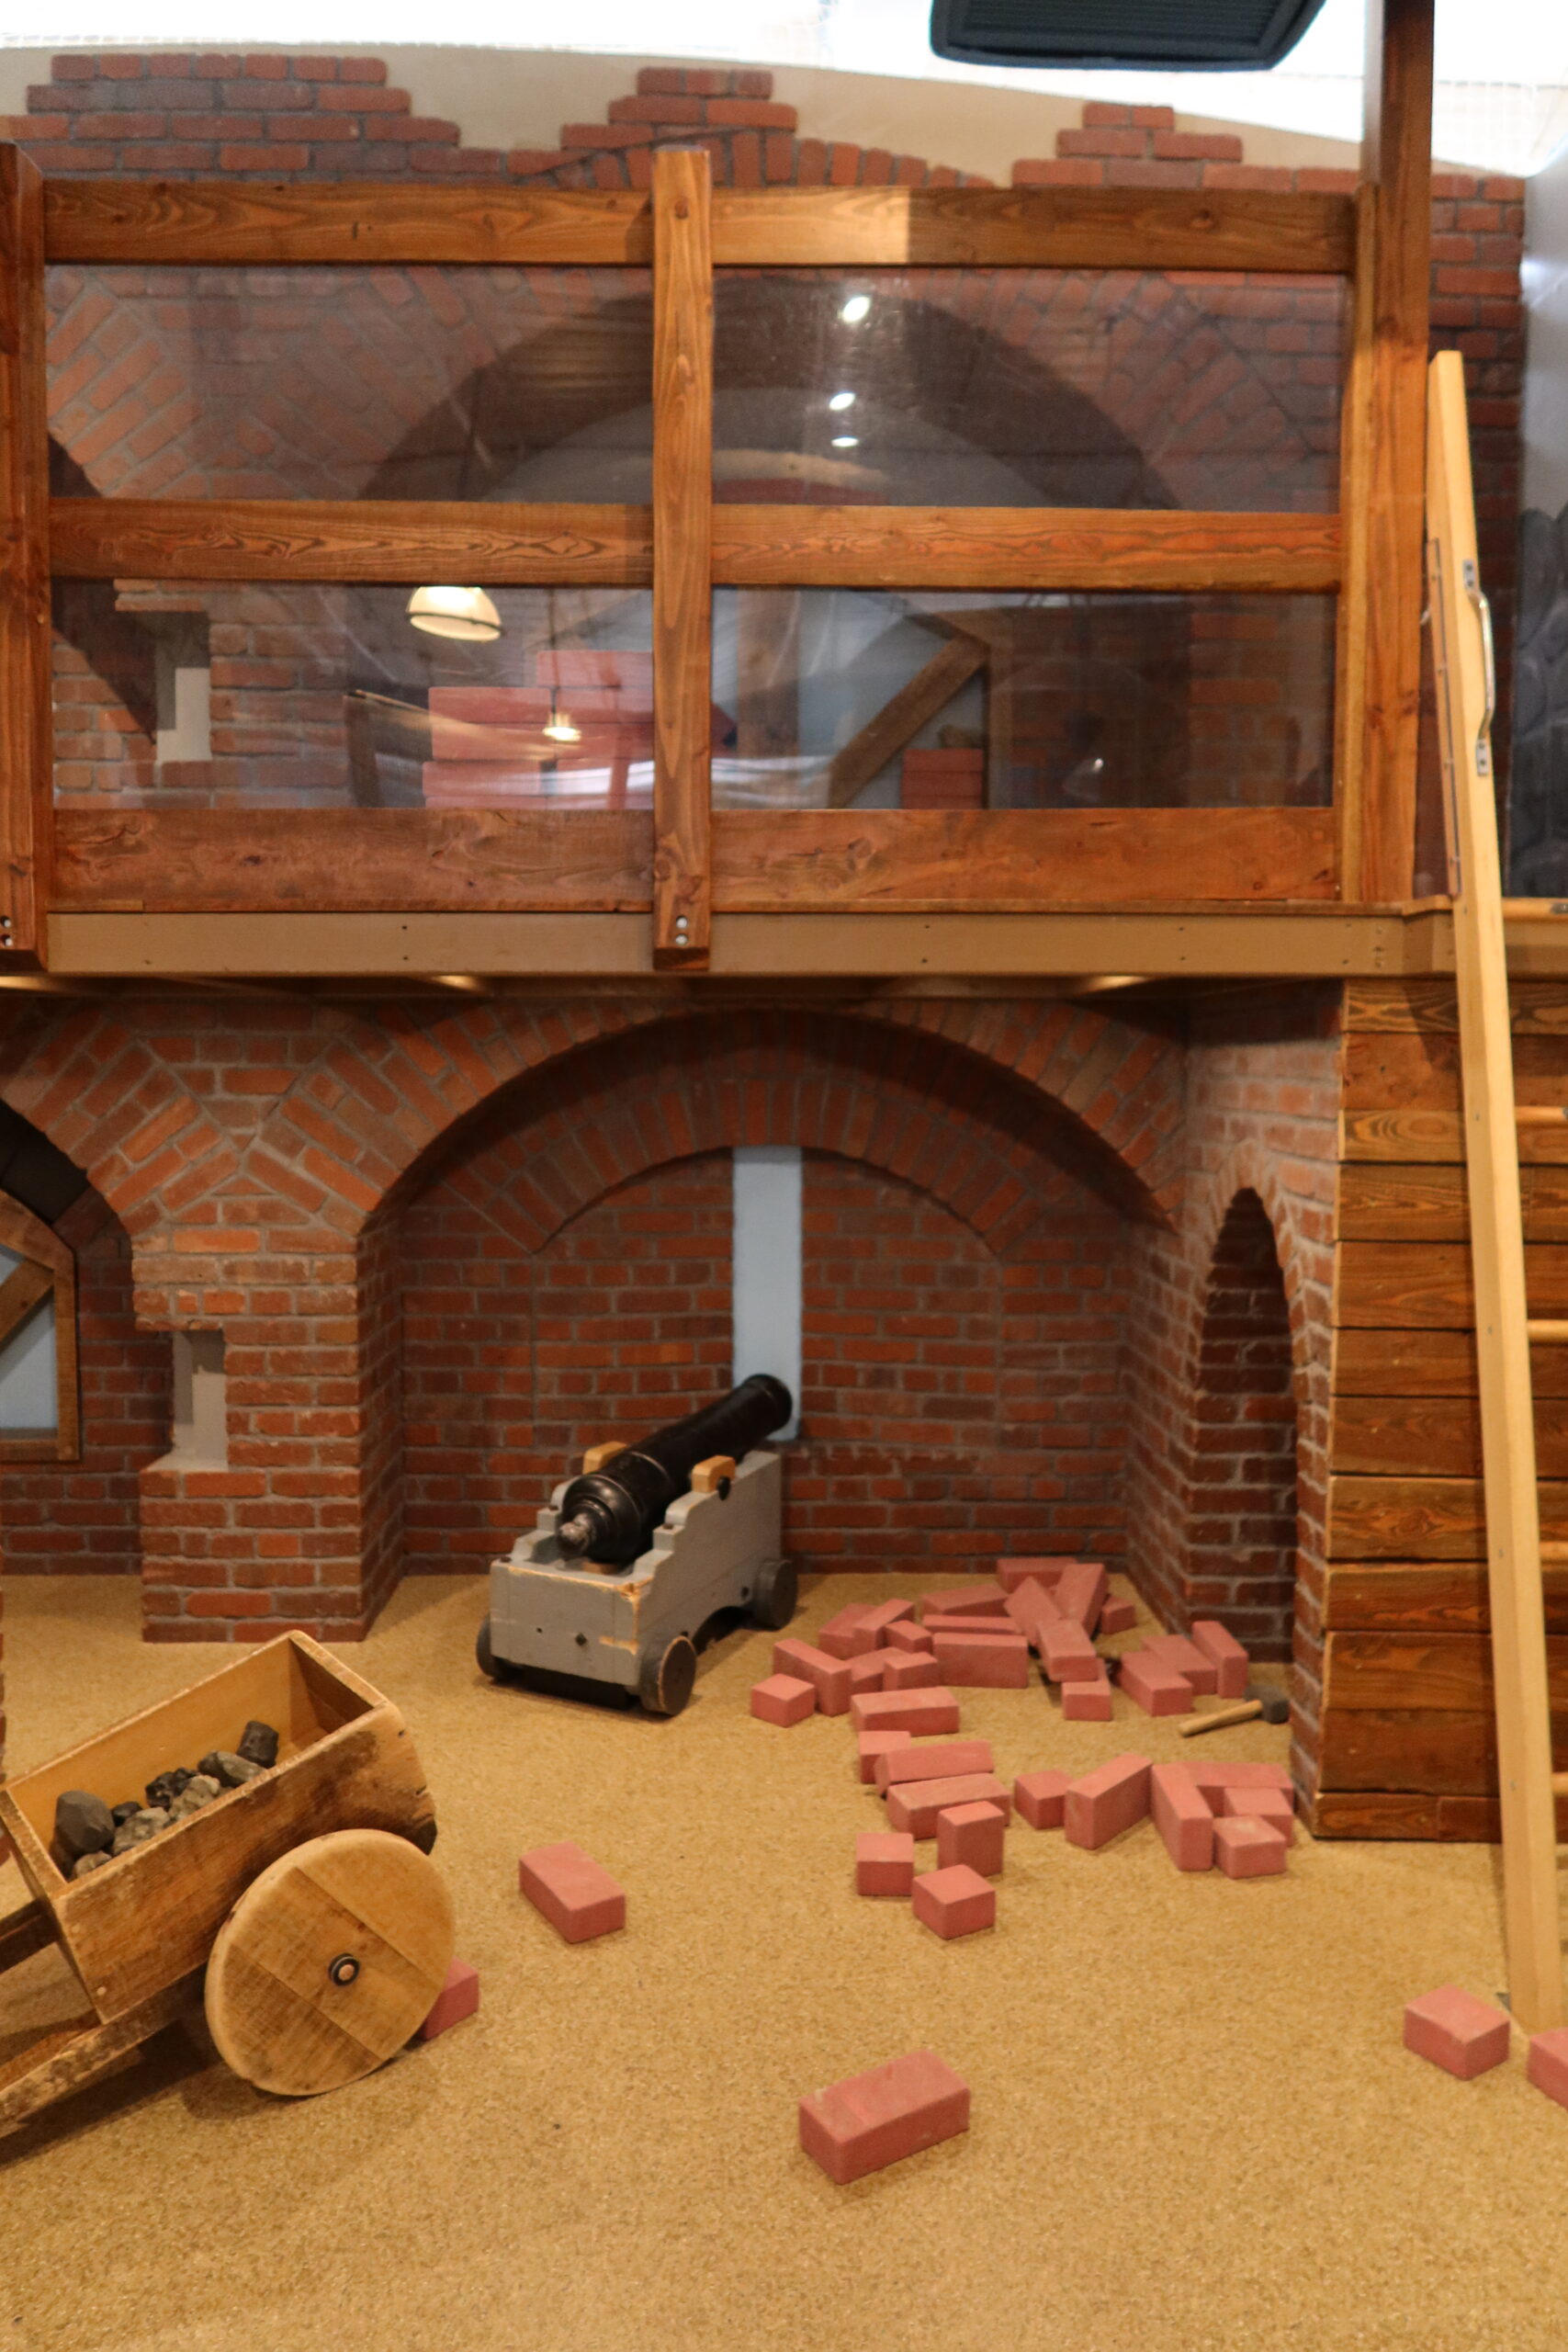
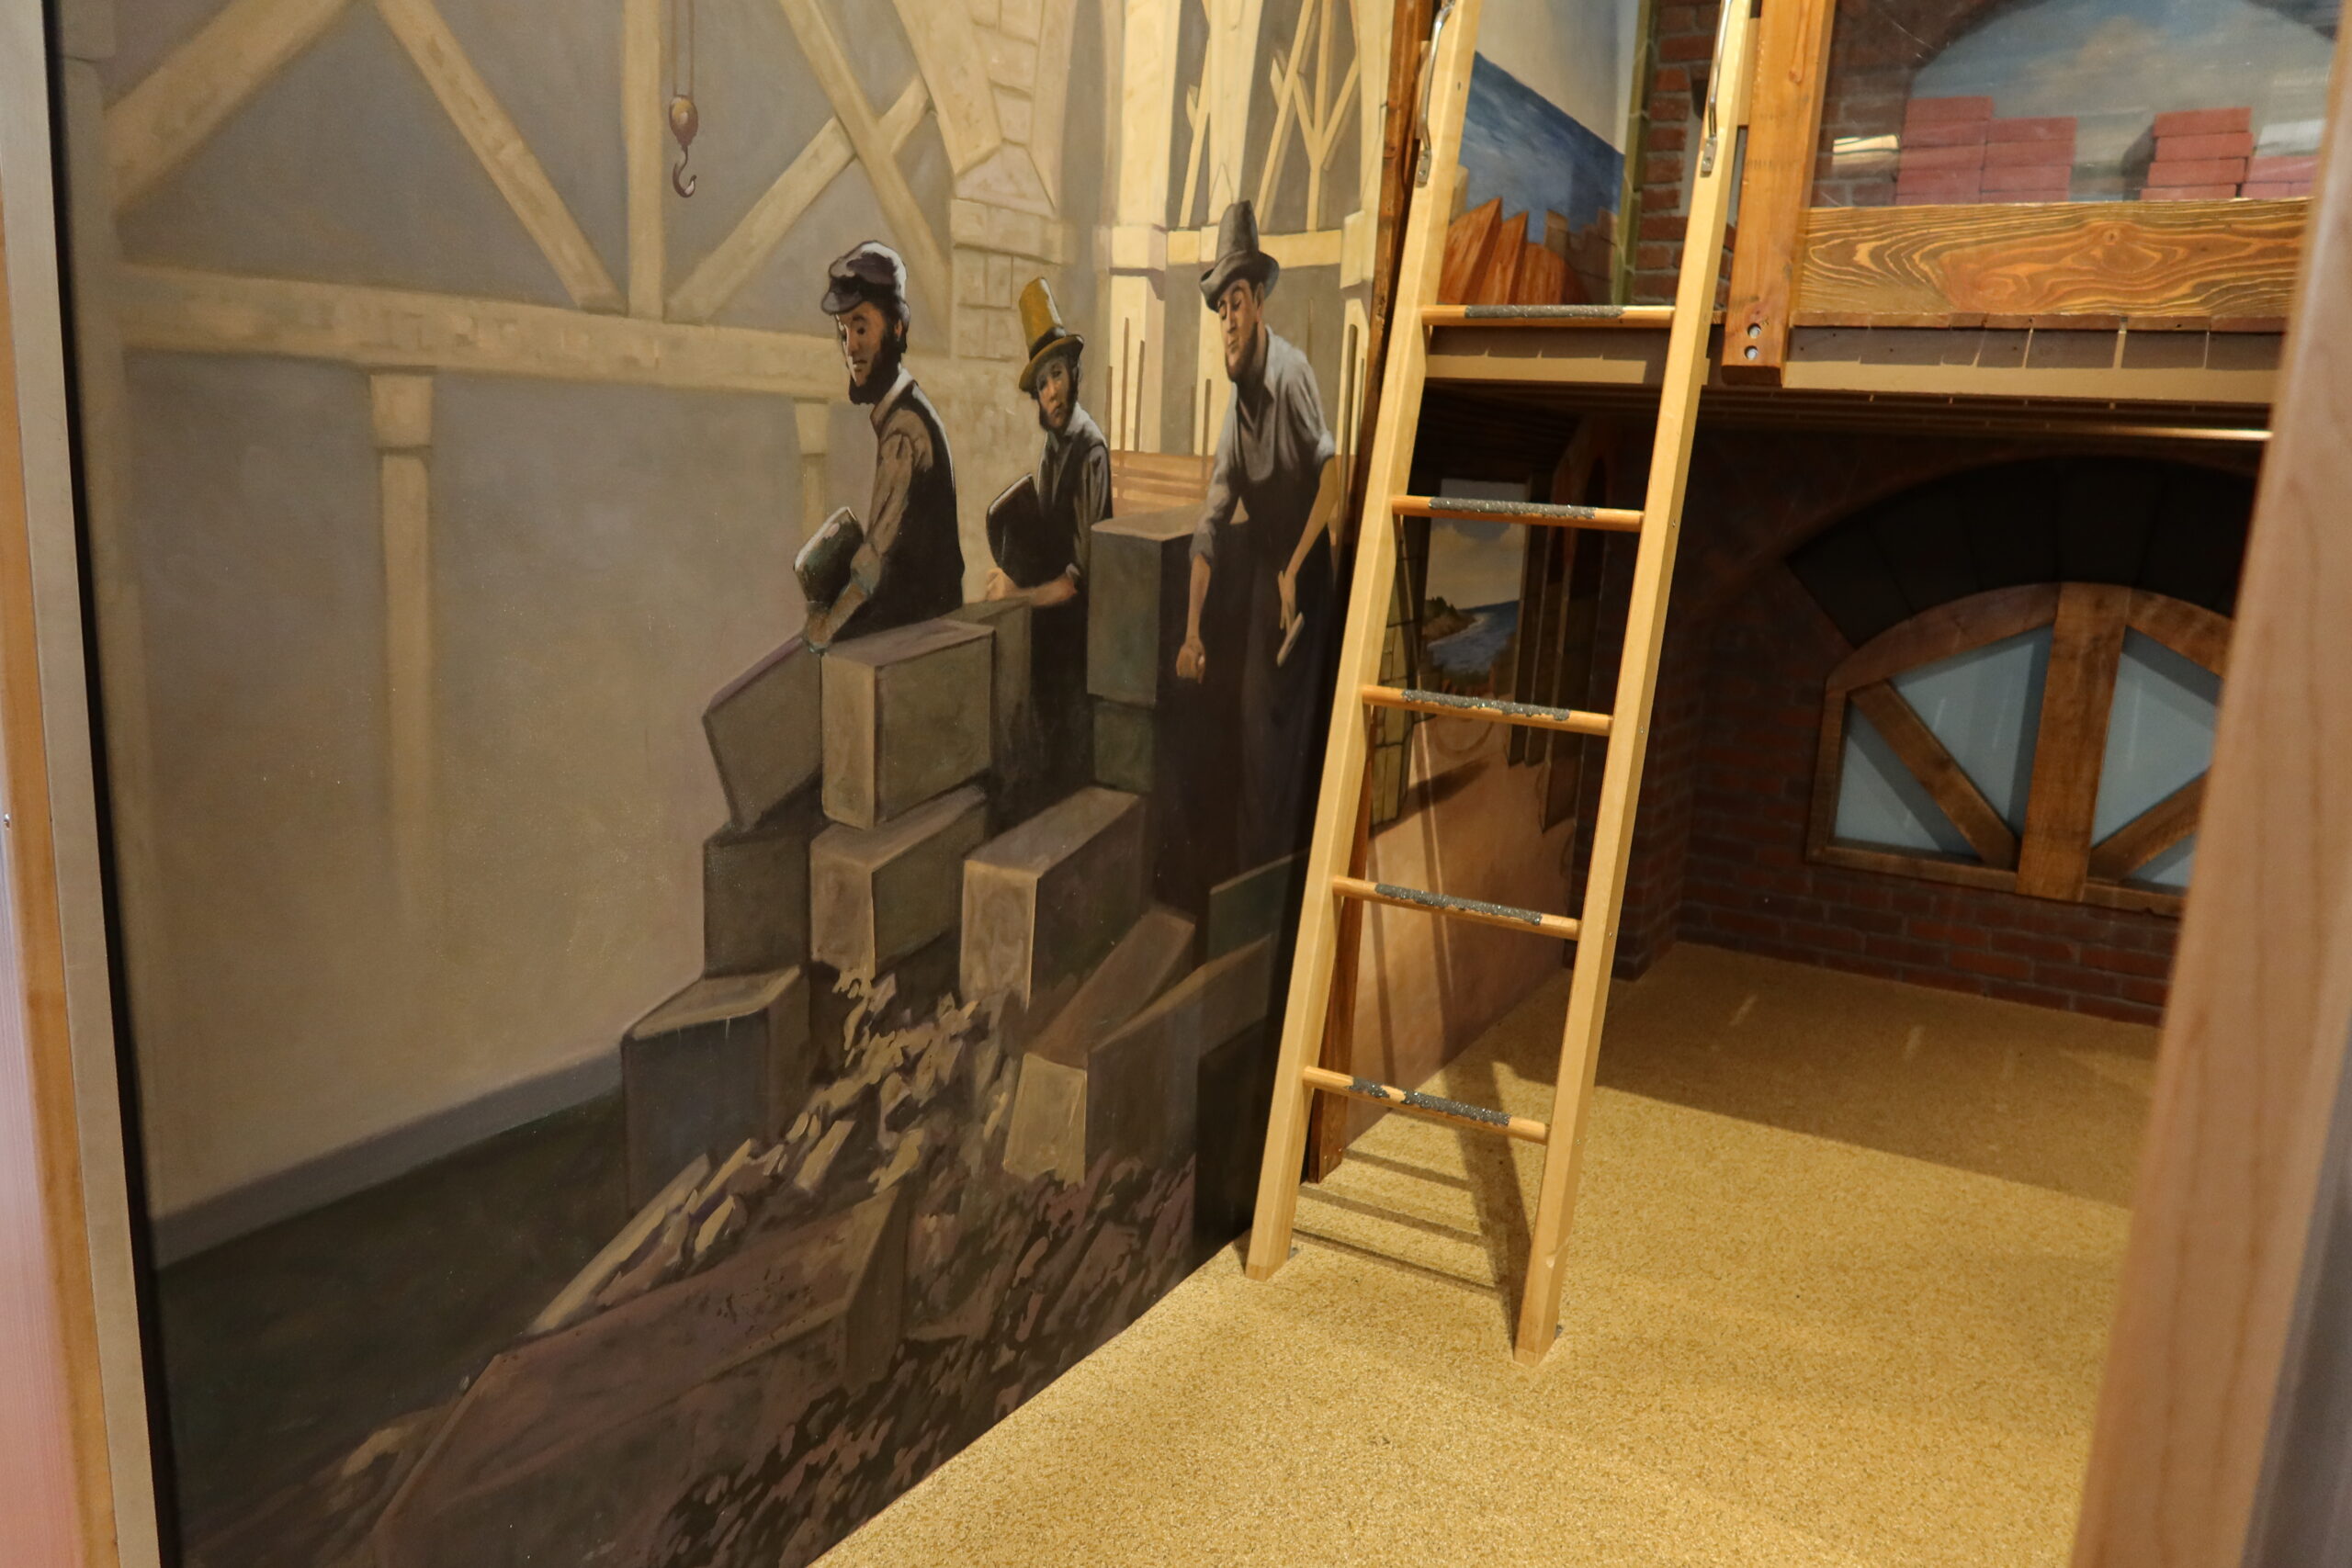
Fort Adams was built in 1799 in Newport, Rhode Island by the United States Navy to protect Narragansett Bay. In this lesson inspired by the Coming to Rhode Island exhibit, students will become masons and explore how to build Fort Adams. This challenge encourages students to explore how important materials, design, and testing are to the process of building a strong structure.
Using what they know about different types of walls, their functions, and the materials they’re made out of, students will try to build a wall, modeled after Fort Adams, in such a way that it is protective and can withstand external forces (nature or otherwise). Students may experiment with various materials and structures to come up with the strongest wall design. When students have finished building their walls, they will participate in various challenges to test the integrity of their walls.
Materials
- Materials for wall building (e.g., craft sticks, egg cartons, small rocks, paper tubes, paper cups, etc.)
- Materials for mortar (e.g., sand, clay, play dough soil, toothpaste, glue)
- Water (to mix mortar, if needed)
- Plastic tray or piece of cardboard/poster board (to build the wall on)
- Fan (for testing)
- Worksheet (for each step of the Engineering Design process)
Student’s Job
Can you build a wall strong enough to withstand high winds? What about an earthquake?
Following the steps of the Engineering Design Process, you will work in a group to build a strong wall, modeled after Fort Adams, that is protective and can withstand the forces of nature.
- Ask: What is the problem – why is your group building a wall? What is the purpose of your wall? What does it need to do?
- Imagine: What will your wall look like? What materials will you use to build and for mortar?
- Think about the different types of walls we saw on our wall walk.
- Each student in the group will come up with their own design.
- Plan: Plan as a team what your wall will look like and what materials you will use.
- Students can use a teammate’s idea or a combination of the teams’ ideas but remind them that they must create one wall together as a team!
- Create: Build your wall using the plan you decided on as a group
- Need to build your wall on a tray or cardboard.
- Must use a layer of mortar to adhere your wall to the tray/cardboard.
- CANNOT cover the entire outside of your wall with mortar.
- Test: After groups complete their walls, test each wall’s ability to withstand the forces of nature. How will we know if our wall design is successful?
- Perform the Wind Test – place the wall in front of a fan. Turn the fan on high for 30 seconds. Time how long the wall survives.
- Encourage students to make observations and record them on their papers.
- Perform the Earthquake Test – lightly shake the cardboard base of the wall for 30 seconds. Again, time how long the wall survives.
- Encourage students to make observations and record them on their papers.
- Make note of which teams’ walls could withstand the forces of nature the longest?
- What materials did they use to build & create their mortar?
- Perform the Wind Test – place the wall in front of a fan. Turn the fan on high for 30 seconds. Time how long the wall survives.
- Improve: As a team, reflect & discuss how you could improve your wall.
- What are some factors that may have contributed to the success of your wall?
- What do you like best about your wall?
- What would change about your wall? (materials, structure, etc.)
- What aspects of other team designs stood out to you?
- Did other team designs give you ideas for ways to improve your design?
- What modifications would you make if we had time to complete the design challenge again?
- How did the materials affect the ability for the house to withstand the forces applied to them?
Teacher’s Job
This lesson can be adjusted to take as little as one day or as many as three/four days. Ideally students would go through the “Ask,” “Imagine,” and “Plan” steps of the EDP on one day, “Create” their walls on a second day, leave their walls to dry for about two days, and then test, and “Improve.” Students can make the improvements to their walls & test again or leave it as more of a reflection step.
Standards Alignment
Next Generation Science Standards: Earth and Human Activity
3-ESS3-1. Make a claim about the merit of a design solution that reduces the impacts of a weather-related hazard.
Next Generation Science Standards: Engineering Design
3-5-ETS1-1. Define a simple design problem reflecting a need or a want that includes specified criteria for success and constraints on materials, time, or cost.
3-5-ETS1-2. Generate and compare multiple possible solutions to a problem based on how well each is likely to meet the criteria and constraints of the problem.
3-5-ETS1-3. Plan and carry out fair tests in which variables are controlled and failure points are considered to identify aspects of a model or prototype that can be improved.
COMMON CORE STATE STANDARDS.ELA-LITERACY.WRITING.3.7
Conduct short research projects that build knowledge about a topic.
COMMON CORE STATE STANDARDS.MATH.PRACTICE.MP2
Reason abstractly and quantitatively.
Prepare/ Background Info
- Explore Fort Adams in the Coming to Rhode Island exhibit at PCM
- Introduce vocabulary related to walls/building (arch, mortar, etc.)
- Review steps of Engineering Design Process: ask, imagine, plan, create, improve
- Brainstorm reasons why students would need to build a strong, protective wall
- Take a wall walk (around school, neighborhood) – explore the different types of walls, the way the walls are built, and the materials used
- What do you notice about the way the bricks are stacked in these walls? Are the bricks set directly on top of one another or are they staggered? Where is the mortar located?
- Read-Alouds:
- Iggy Peck, Architect by Andrea Beaty
Extend/ Take it Further
- Conduct more tests for their walls
- Hail – take a cup filled with dried beans and pour it on top of the wall.
- Rain – take a cup filled with water and pour it over the wall.
- Demolition Ball
- Students can make their own bricks (not just the mortar)
- PBS lesson: Sun-Baked Bricks
- Students can build a complete structure (e.g., a house)
- Math: every material has a price, give students/groups a budget, calculate the cost of their wall
- Writing: write a how-to story about building a strong wall; research engineers, architects, construction workers, etc. and write a report about that career
Facilitation Strategies
- Encourage students to talk to a partner or table group about their ideas for their project.
- Encourage students to use new vocabulary taught.
- During “Imagine” and “Create” step – walk around the classroom ask students/groups about their plans and building choices
- What are your reasons for selecting that material?
- How did you decide on that pattern for building the wall?
- During “Test” step ask students and groups about the results
- How will we know if our wall design is successful?
- Is the wall still stuck together?
- Did the mortar crack? Did the mortar crumble? Did any mortar fall out from between the materials?
Play to Notice (Learning Framework)
- Experiential: Students will learn through hands-on exploration while building and making their walls. Students will learn from their environment by interacting with real objects, choosing their own materials to build will, experimenting, making mistakes, and trying again.
- Physical: Students will work on fine motor skills while making and building their walls
- Social: Students will work in groups to construct their walls; communication with each other will help assist students to use new vocabulary taught and promote discussions about their ideas
Content Matter to Notice
- Students engaging in the steps of the Engineering Design Process
- Using vocabulary related to building and EDP
SEL to Notice
- Are students controlling themselves while taking turns and suggesting ideas to peers and staying focused on the task?
- Are students able to use their curiosity to take risks and try out an idea?
- Are students able to problem-solve as a group when they are stuck, or their idea does not turn out as intended?
Photo Gallery
0 Comments